We’ve all been there. You find you need extra storage but, it’s mid-summer and what with graduation parties, weddings, vacations and family reunions, you just simply don’t have the $200 or $300, at the moment, for the cost of a new shed kit, not to mention the $100 or more you will need for wood and supplies for the base. The solution? Look around to see what you can find that you can recycle and breathe new life into.
Gathering Supplies
That’s what we did and we saved more than 90% off the cost
of a new shed. Here’s how we did it. My brother John, was tasked by his
landlord with clearing out an old dilapidated shed from a tenant that had been
evicted from their rental community. The shed, while yet intact, was laying
over on its side. He called our brother David and enlisted his help to load it
up on one of our trailers and haul it over here to the camp. It was pretty beat
up, but they worked on it awhile and soon got it straightened out.
Then, because he works for a prominent hardware outlet, who
tosses out older pallets, some of which retain usability, he managed get some for
us, at no cost. The pallets that are yet basically whole, we keep for things
like bridges, deer stands, decks, etc. The rest, we piece out for various other
projects around the camp. The broken-up stuff makes good fodder for the fire-pit.
Finally, for the price of doing the work to clear them out,
he scored a load of building bricks. Once again, no out-of-pocket cost. So, the
lesson here is, keep your eye out for opportunities and don’t squander them! Since
I already had a screw gun and screws, all I needed now was a couple of 4x8
sheets of plywood and, as it turned out later on in the project, some wasp
spray. Combined cost, $30.
Building the Base
 We started by laying out the brick pattern for four 48”x40” pallets.
Then, using only a pick, a flat-bladed spade and a level, I cut the sod and dug
out the patches to fit the bricks in such a way as each pallet laid level on
top of them. It took a few hours but in the end, I had a level pallet base, eight
feet wide by six feet eight inches long.
We started by laying out the brick pattern for four 48”x40” pallets.
Then, using only a pick, a flat-bladed spade and a level, I cut the sod and dug
out the patches to fit the bricks in such a way as each pallet laid level on
top of them. It took a few hours but in the end, I had a level pallet base, eight
feet wide by six feet eight inches long.
Then, David and I laid out the two plywood panels on top and
screwed them into the pallets below. After that, using a hand rip saw, I cut
off the remaining excess plywood. Now, we were ready for the last step, moving
our repaired metal shed onto the base.
Mounting the Shed
 That’s when the wasps began to bite. David took three stings
before we realized what was happening. Fortunately, he does not have an allergy
to wasps or bees and we had some anti-allergy topical ointment medicine on
hand. I went to the store and picked up the wasp spray and in minutes, we were
back to work.
That’s when the wasps began to bite. David took three stings
before we realized what was happening. Fortunately, he does not have an allergy
to wasps or bees and we had some anti-allergy topical ointment medicine on
hand. I went to the store and picked up the wasp spray and in minutes, we were
back to work.
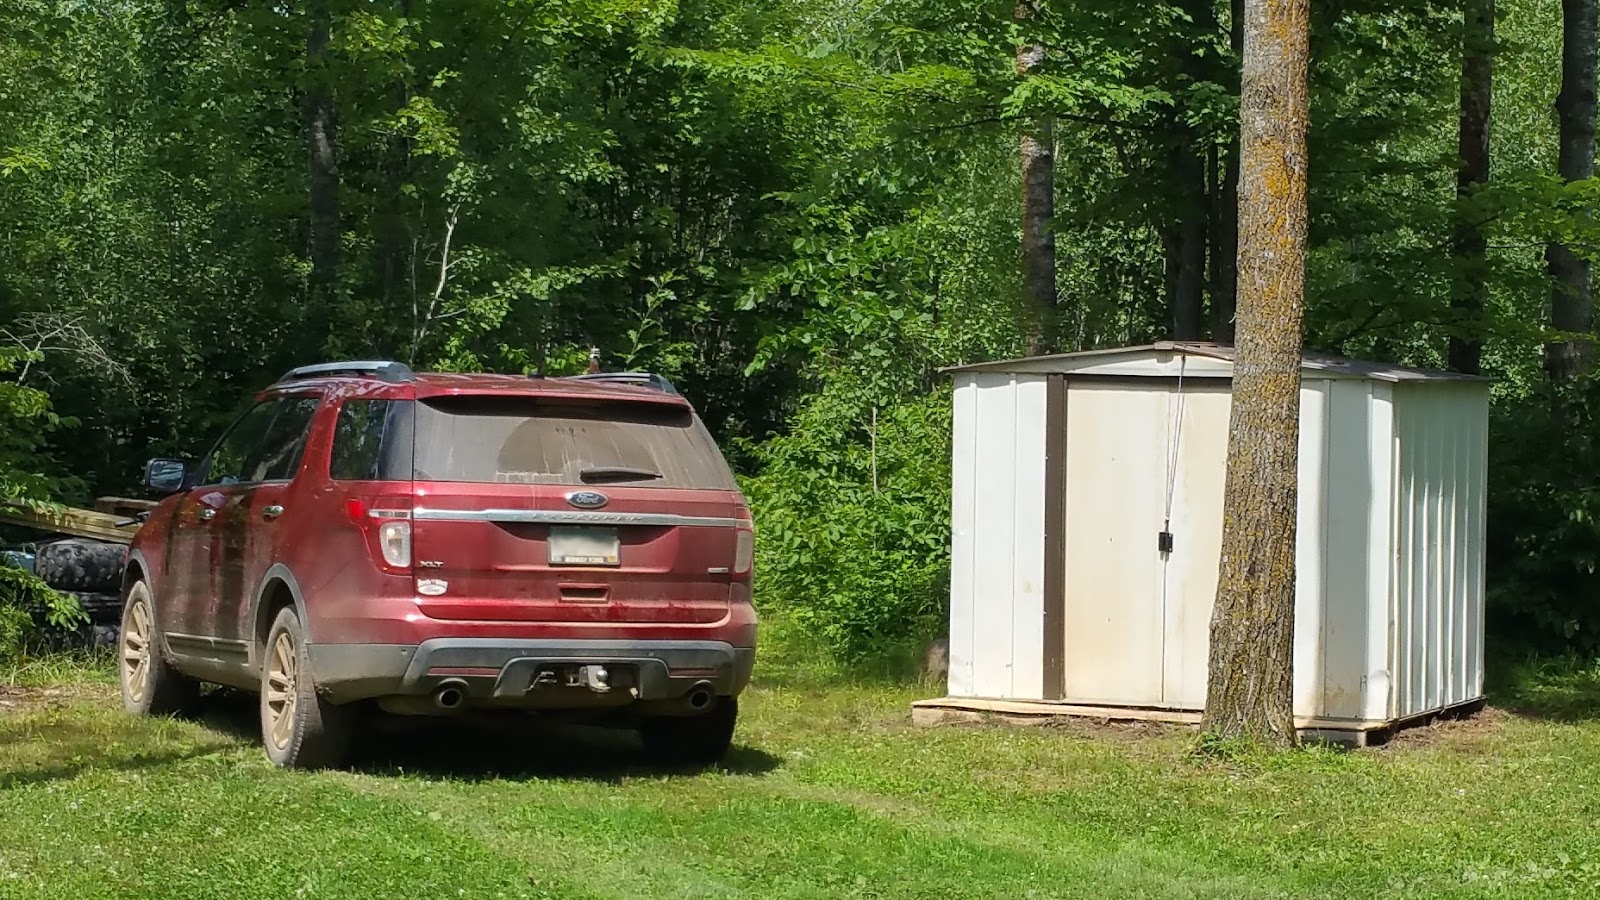
Basically, because the shed has no bottom, we simply stood
inside and lifted it by the “rafters”. Then, we walked it over to the newly
built base. There, we lined it up and screwed it down to the plywood edges.
Lastly, we removed the plastic runners which the doors use to slide open and
closed and re-seated them in their tracks. Finally, we reattached the doors to
the runners while making certain they were properly slotted in the base track.
After a little clean up, the result is a solid, working shed.
Tally
Supplies
|
Retail
|
Our
Cost
|
1 – 8x6 Shed Kit
|
$299
|
$0
|
4 - 48”x40” Used Pallets
|
$16
|
$0
|
2 - 4x8 Plywood Sheets
|
$26
|
$26
|
100 – weather resistant wood screws
|
$5
|
$0
|
Pest Repellent
|
$4
|
$4
|
Totals
|
$350
|
$30
|


